Quarter-Scale Retrocomputing
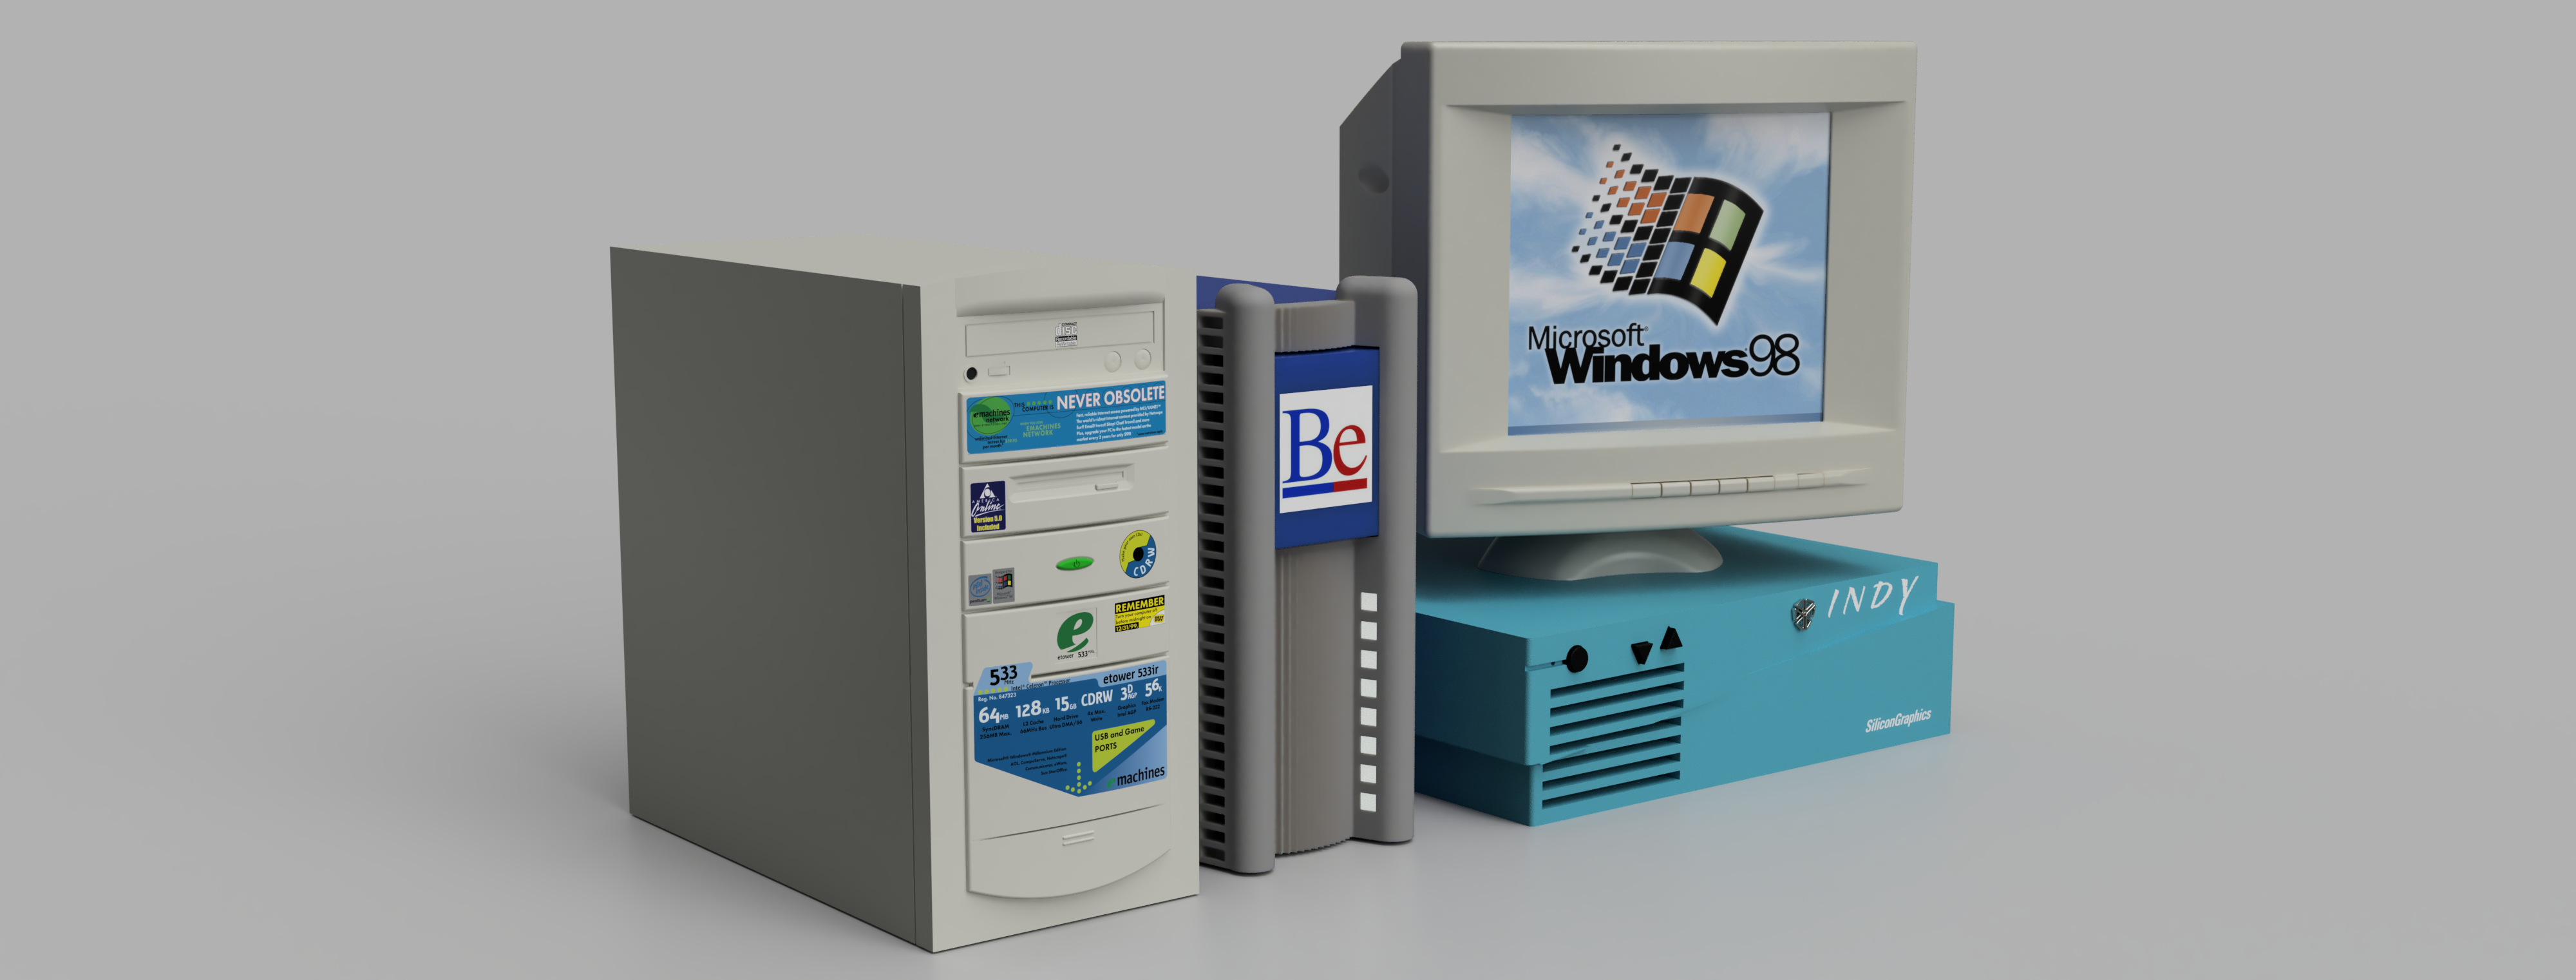
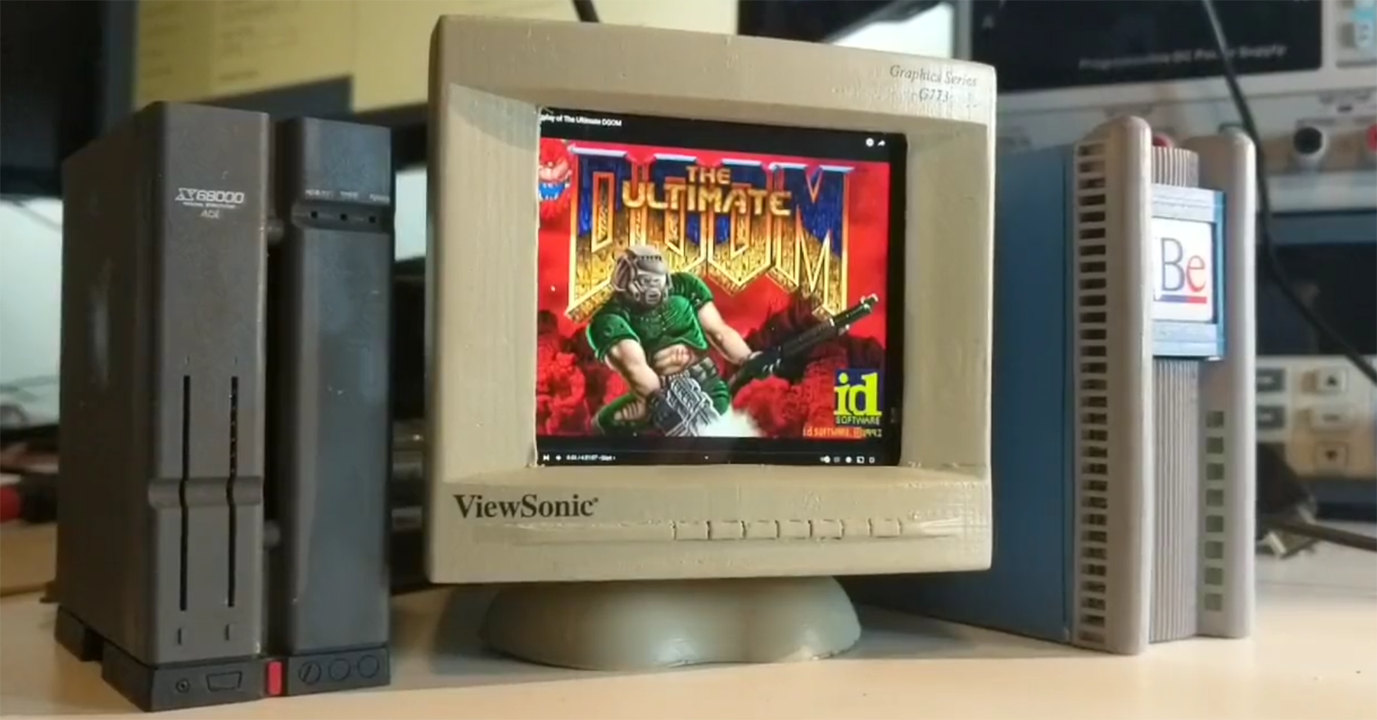
This is an ongoing project that began as a search for a cool Raspberry Pi case. I couldn’t find something cool, so I decided to build my own. The first completed case was the BeBox, and expanded to the X68000 (as a plastic model kit I found in Japan), the SGI Indy, and the eMachines Never Obsolete (as a thorough exploration in the limits of waterslide decals).
These projects are detailed below:
BeBox
STL files and related info can be found in the Raspi-BeBox repo
I needed a small Linux box for my desk; this means I needed a Raspberry Pi. I didn’t want a ‘normal’ case, so I made a tiny BeBox:
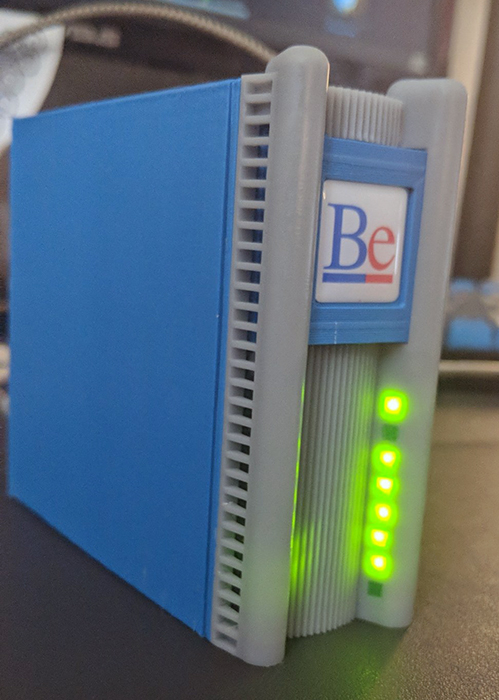
A BeBox, if you’re not aware is a weird little computer from the mid-90s, and could have been the basis for OS X. About 2000 were ever made, making this one of the rarest vintage computers. Unobtanium, basically.
The entire thing is built around a Raspberry Pi 4, with a dual-HDMI extension board to make all the ports come out on the back. Blinkenlights are included, programmable with a Python script and a MCP23017 I2C/GPIO chip. The ‘blue’ part of the case is suitable for a filament printer, while the gray is better suited for resin.
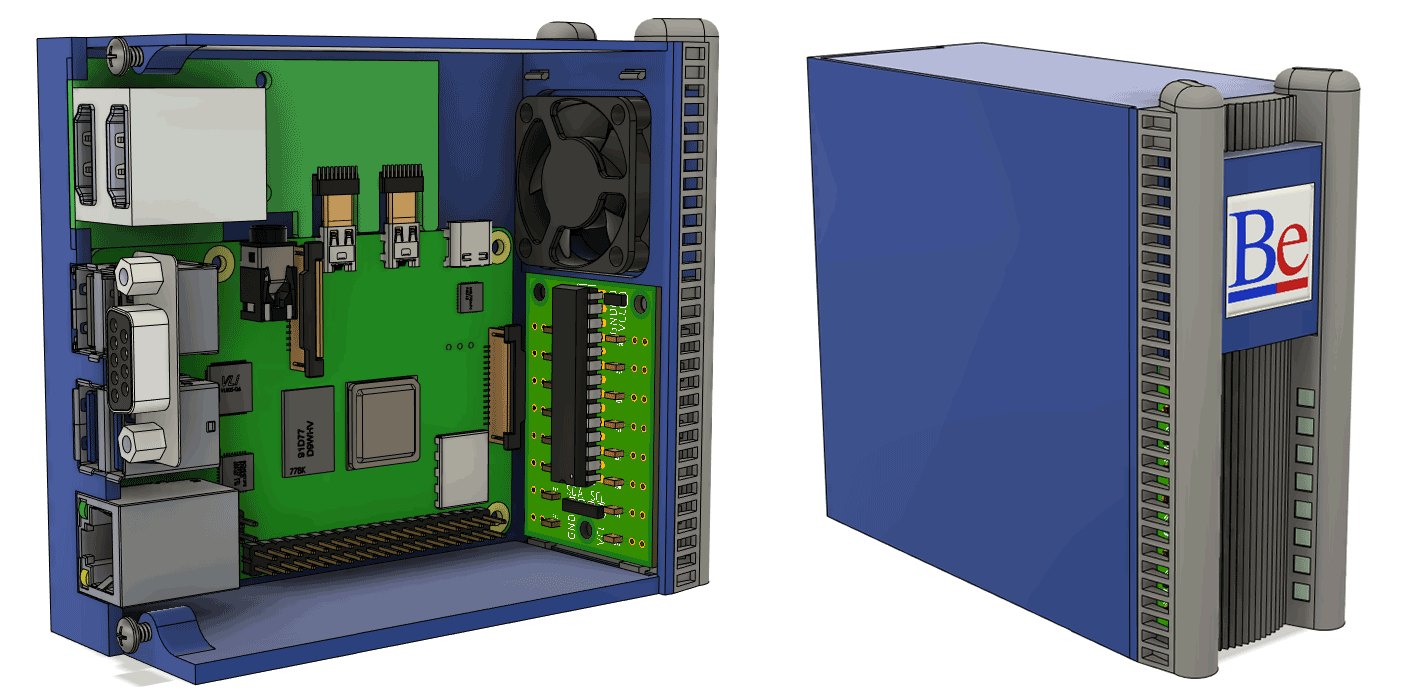
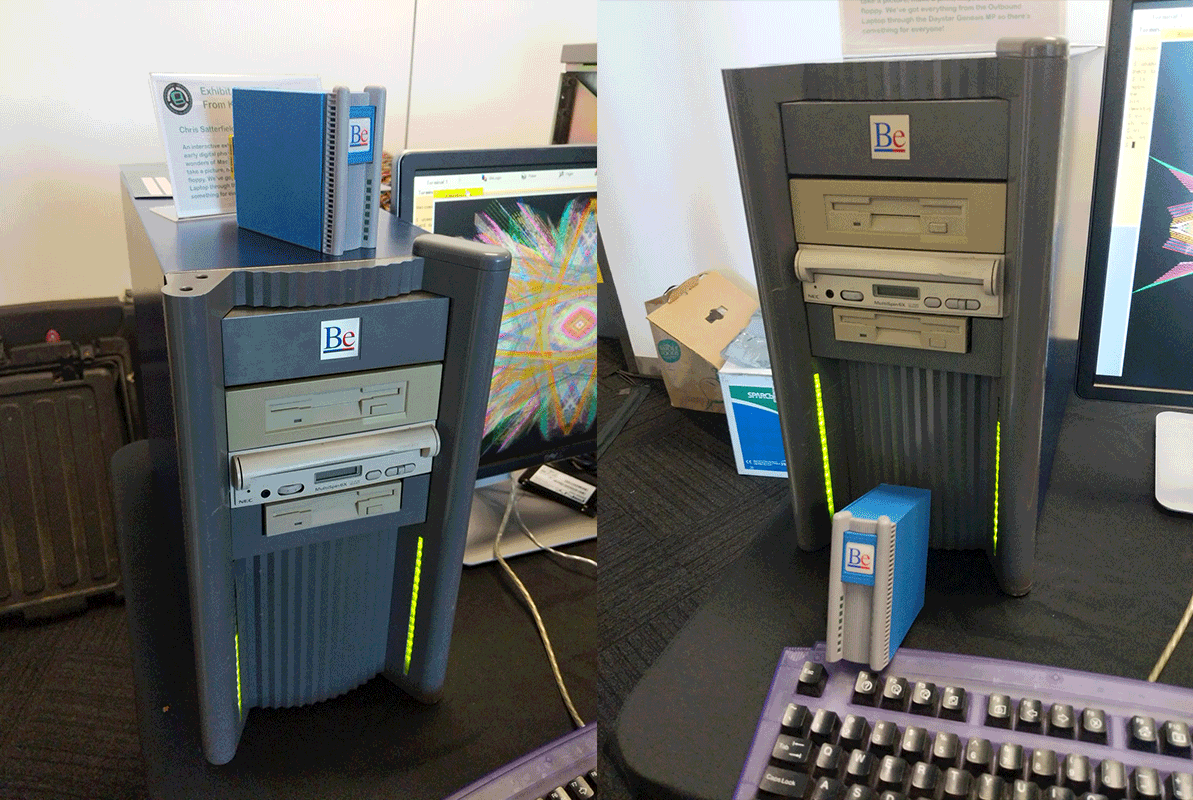
More information can be found in the BeBox Repo. A picture With a real BeBox:
The eMachines Never Obsolete

STL files and related info can be found in the raspi-eMachines repo
This was an experiment in detailed scale modeling, specifically scaling down stickers and silkscreen. The obvious choice for a computer to test these techniques on is the eMachines Never Obsolete from c.2000; these computers came plastered with stickers, and existant machines are highly regarded in the sleeper / retrobattlestation community. I had to make this computer, and it had to have all the stickers.
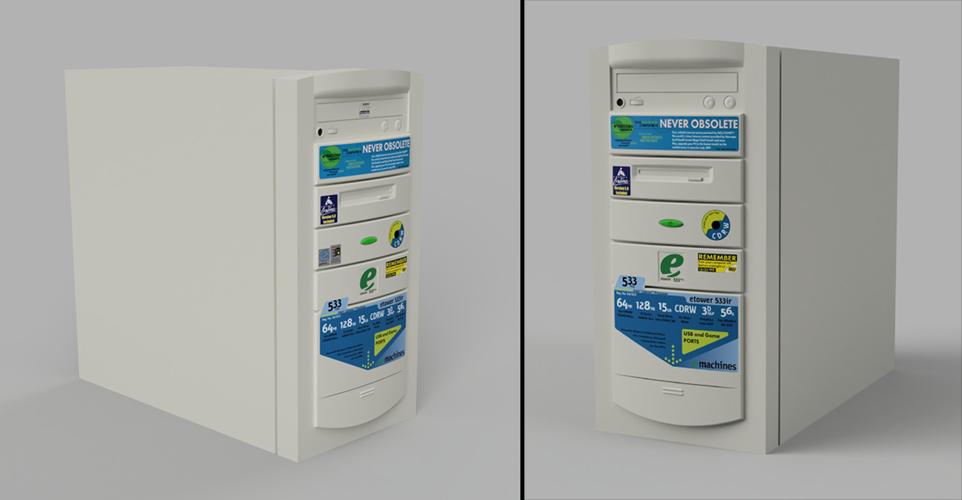
The process for building this Raspberry Pi case is similar to all the other ones – the main body is 3D printed on a filament printer, the detailed parts (in this case, the front) are printed in fine detail resin. The trick for this case is the many waterslide decals. These were designed in Illustrator, then sent off to someone with an Alps dye sub printer. Application is relatively easy with the right tools, specifically Micro Sol and Micro Set solution, along with an airbrush.
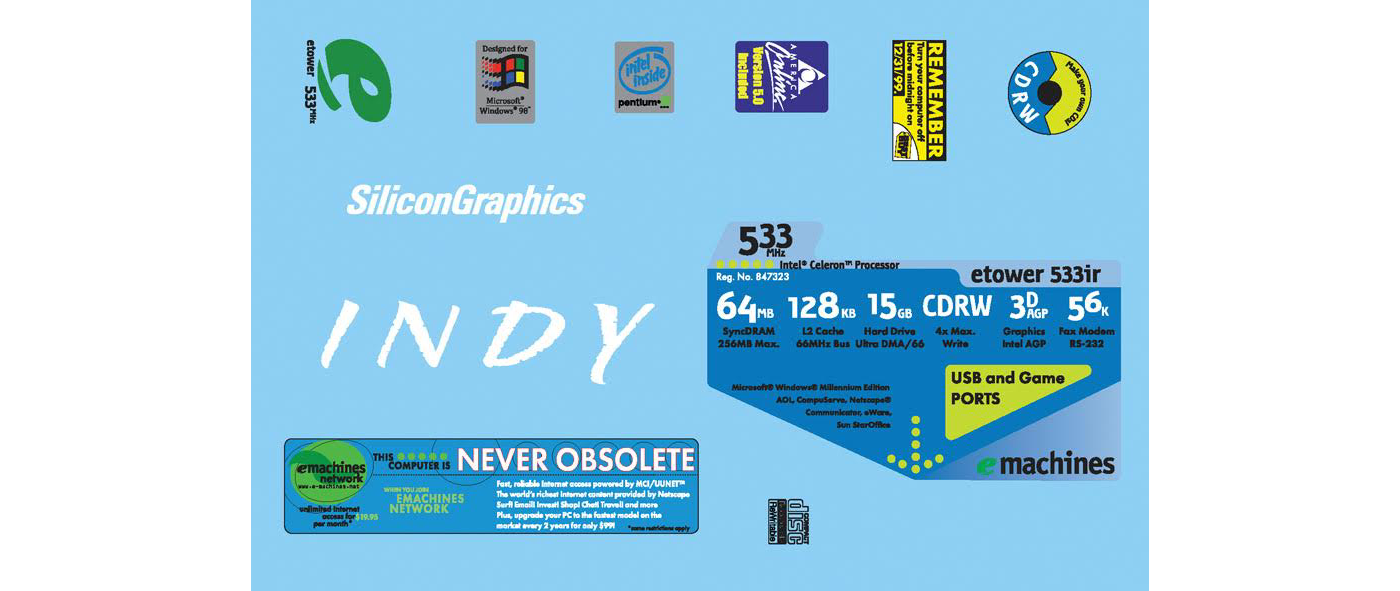
Because these decals use white and metallic inks, the files for these decals were sent out to a waterslide decal ‘manufacturer’. I have better uses for $2k than to spend it on a dye-sub Alps printer, after all. The decal sheet includes all the decals for the eMachines, as well as the silkscreened logotype for the SGI Indy project that was built around the same time.
The design of the eMachines enclosure is more modular than the BeBox. The Raspberry Pi and related components are secured to a chassis, to which an outer shell is simply clipped on. This allows me to easily change out the design for other shells with a tower form factor.

X68000
The Sharp X68000 was a popular workstation in late 80s / early 90s Japan. On a trip to Japan, I picked up a model of this computer, meant to be a Raspberry Pi case.
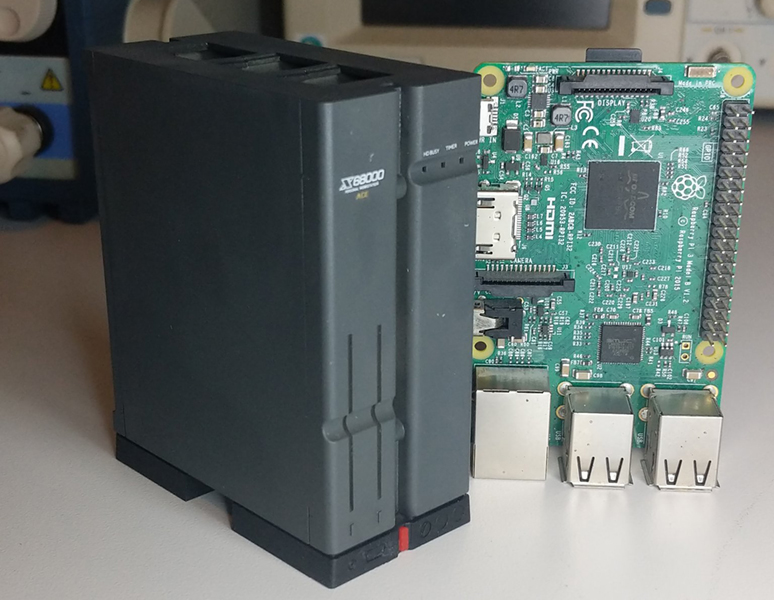
The model required paint and application of waterslide decals, but I also picked up an airbrush in Japan. A simple build, and it fits Raspberry Pi 2s and 3s.
SGI Indy
STL files and related info can be found in the raspi-SGIIndy repo
While most of these tiny retrocomputers are towers, this was not the most prominant contemporary form factor for personal computers and workstations. Desktops (or pizza boxes, or whatever you call them) were the foremost form factor of the late 80s and early 90s, and they must be represented in this collection. To that end, I made a case for one of the best-looking desktops of the time, the Silicon Graphics Indy:
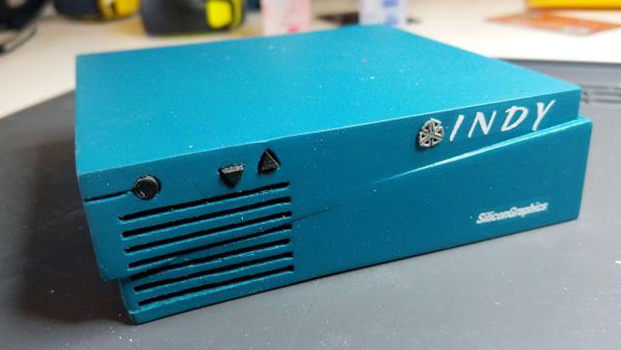
The case contains a Pi 4, HDMI right angle adapter, and a fan; essentially the same as the eMachines and the BeBox. This computer required paint, though, and I had just picked up an airbrush in Japan. It worked great, even on the very small SGI ‘box’ logo, which was printed via Shapeways:
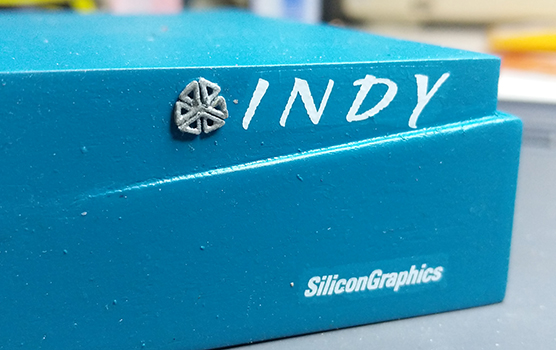
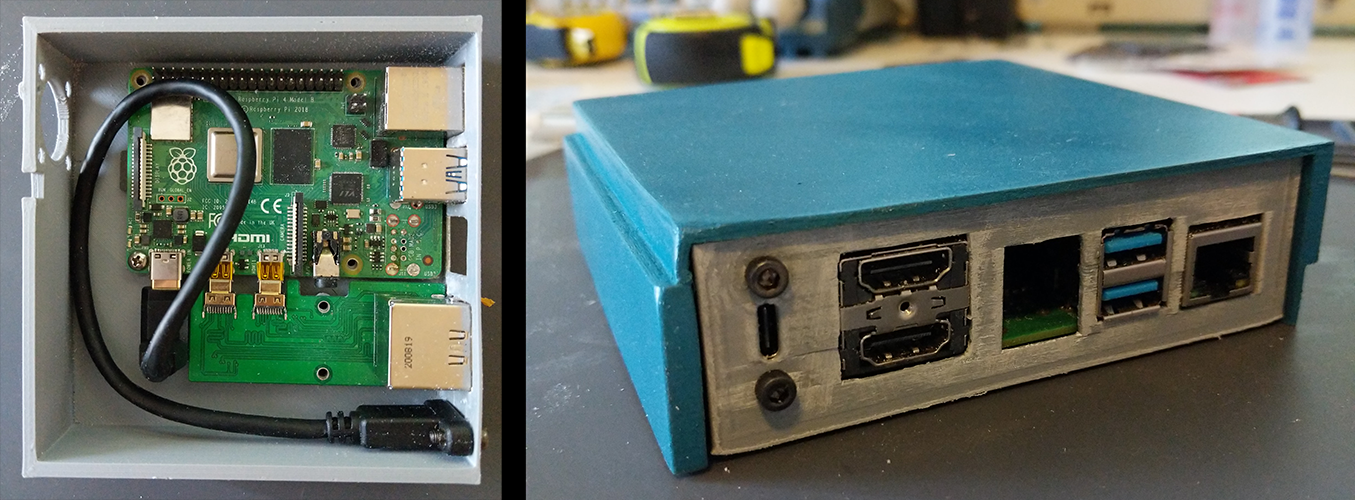
The design of the case is somewhat unique, and in keeping with the design of the eMachines. The Pi and all related components are screwed down to a chassis, with the outer shell simply cliping onto the chassis. This makes other ‘pizza box’ designs very easy to implement. I think a Packard Bell might be next.
Viewsonic Monitor
STL files and related info can be found in the Raspi-Monitor repo
These computers need a monitor, right? There are a few other ‘tiny computer Raspberry Pi cases’ around, some of which include old Macs with an integrated screen. The most popular is the American Girls Performa 5200, with uses a 3.5” display. This display, though, is 320x240 resolution, and not in any way up to the task of displaying pure 90s workstation power.
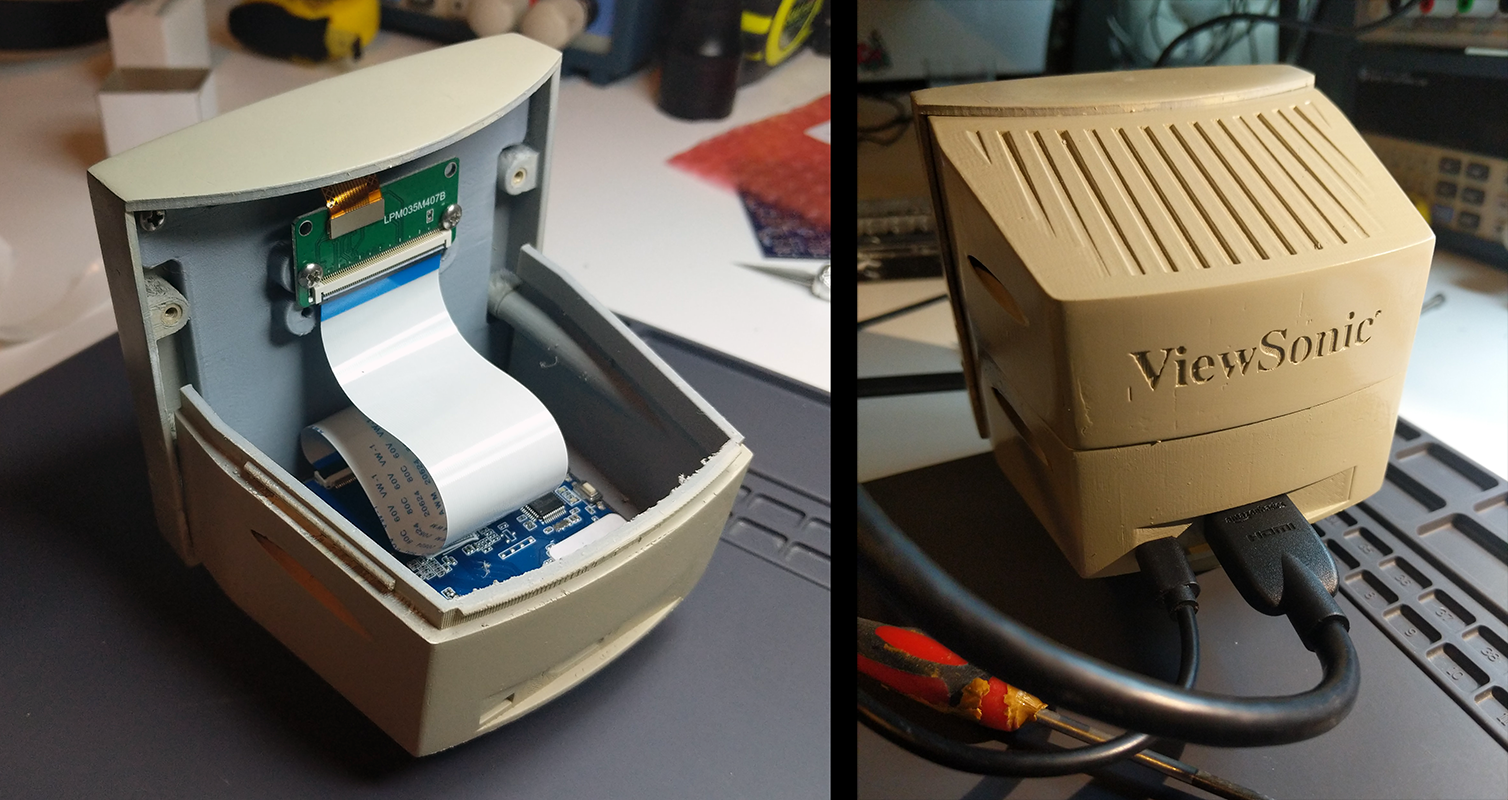
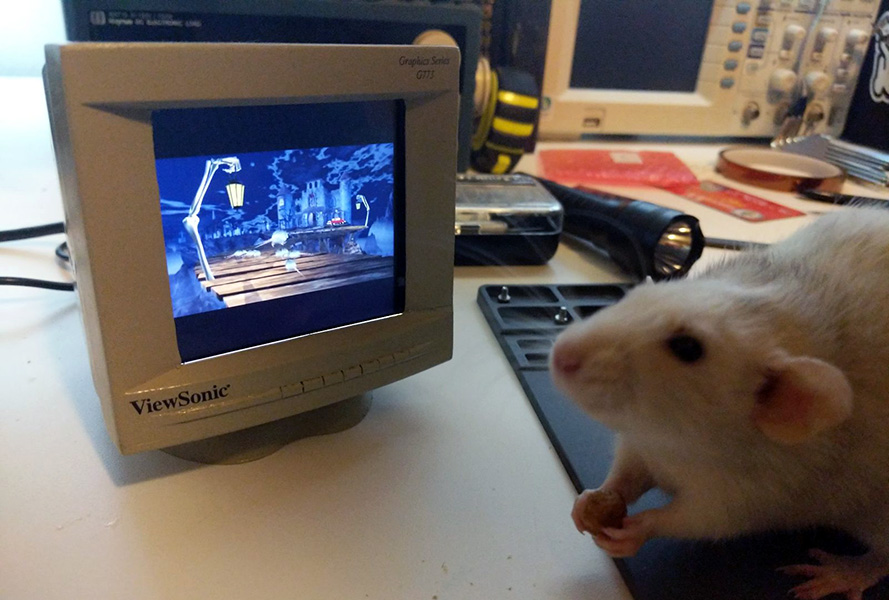
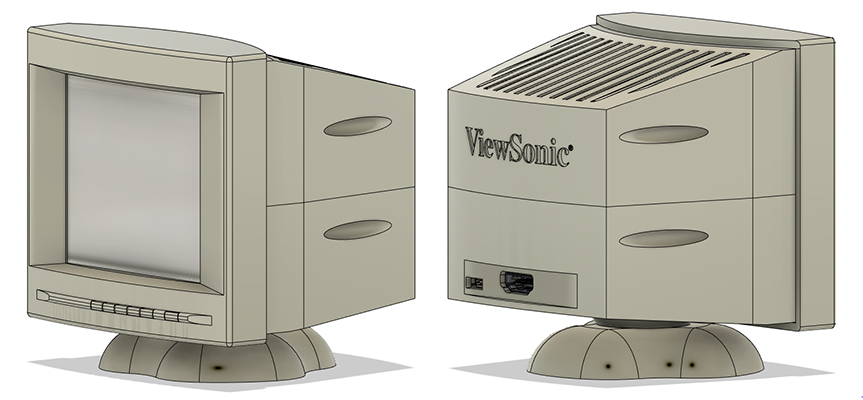
With the advent of head-mounted displays, companies are making very high DPI displays around 3-4” across. I found this AliExpress listing for a really high DPI display with HDMI in. It’s 1440x1600 resolution, or 615PPI, an absurd resolution for a very small display. Since a Viewsonic CRT is the most representitive monitor for this collection of microcomputers, I designed a CRT shell to wrap around this IPS display:
 .
.
